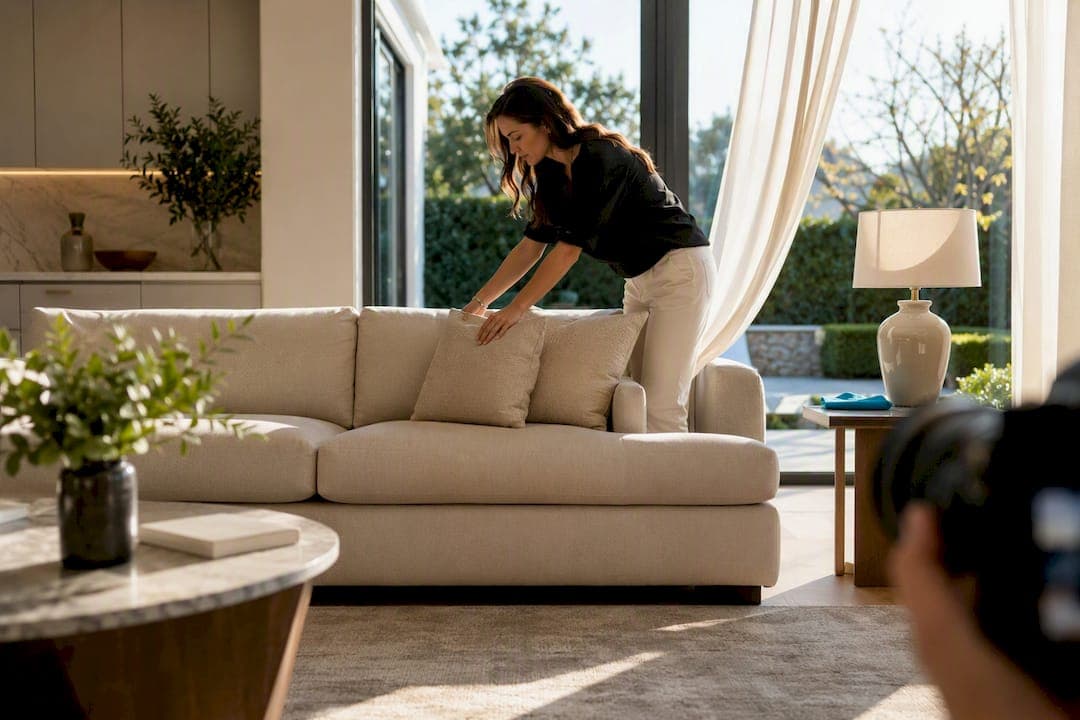
Declutter every surface, flood each room with soft natural light, shoot on a tripod with a wide lens (or your phone locked and leveled), capture at least 20 to 25 images, and close with one twilight or golden-hour exterior shot as your hero image. Get those five right and you're not just making the house look nice. You're generating more clicks, more qualified showings, and often a faster sale.
TL;DR:
- The most impactful photos are the exterior shot at golden hour and the kitchen, which should receive special attention and professional quality.
- Schedule repairs, deep cleaning, decluttering, and staging at least one week before the shoot, focusing on depersonalization and high-contrast cleanliness.
- Use natural light effectively by shooting exteriors at dawn or dusk and turning on interior lights to create layered, inviting scenes.
- Invest in a tripod, wide-angle lens, and shooting in RAW format to ensure professional-looking images without requiring extensive editing.
- Focus on capturing 25 to 30 well-ordered, varied shots of key rooms and exterior angles, eliminating duplicates to optimize buyer engagement and listing speed.
Table of Contents
- Pre-Shoot Checklist: What to Fix, Clean, and Stage Before the Camera Arrives
- Timing the Light: Golden Hour, Twilight, and When to Shoot Each Room
- Camera Gear and Settings That Make Listing Photos Look Professional
- Room-by-Room Shot List: Framing Rules Buyers Respond To
- Running an Efficient Shoot Day: Order, Counts, and Quick Checks
- Editing Your Listing Photos Without Misleading Buyers
- A Practical Pre-Listing Checklist From Beams Realty Group
- Where Your Photo Budget Actually Pays Off
- Get Your Listing Camera-Ready With Beams Realty Group
- Sources
- FAQ
Pre-Shoot Checklist: What to Fix, Clean, and Stage Before the Camera Arrives
Photographers can only work with what's in front of them. A cluttered counter or a burned-out porch light shows up in every shot, and no amount of editing fixes a messy room convincingly. The fix is timing your prep so nothing gets rushed the morning of the shoot.
Two weeks out, walk the property with fresh eyes, or better yet, have someone else walk it with you. Note repairs: chipped paint, a wobbly cabinet handle, cracked caulk around the tub. This is also when to book a landscaper if the yard needs more than a mow, and when to schedule a pre-listing inspection if you haven't already, since fixing issues before photos day means you won't be staging around a problem.
One week out, start the deep clean and the decluttering pass. This is the phase most sellers underestimate. A 20-step checklist widely used by real estate photography services covers exactly this stretch: clearing counters, packing away personal photos, removing excess furniture, and tackling anything that reads as "lived in" rather than "move-in ready."
- Depersonalize, don't sterilize. Remove family photos, personal collections, and anything with names or faces. Leave a few tasteful touches, like a single plant or a stack of neutral-toned books, so rooms don't feel staged into oblivion.
- Clear every horizontal surface. Countertops, nightstands, dressers. If it's not decorative, box it.
- Rent a storage unit or borrow a garage if you're short on closet space. Overstuffed closets photograph as "not enough storage," even when that's not true.
- Deep clean glass and mirrors. Streaks show up brutally under camera flash and natural light alike.
- Wash windows inside and out. This single task does more for interior brightness than almost anything else on this list.
- Handle pet evidence. Litter boxes, food bowls, and pet beds should disappear for the shoot, and so should any pet odor if you can manage it.
- Fix the small stuff: loose doorknobs, sticking drawers, dead houseplants, and any visible cords or chargers.
Day before, focus on staging moves with real return. Crisp white or neutral linens on beds. Fresh towels rolled or folded in bathrooms. A bowl of fruit or a simple vase of flowers on the kitchen island. None of this costs much, but it reads as "cared for" in photos. If your budget allows more, a low-cost staging refresh before the shoot often pays for itself in how much faster the listing gets attention.
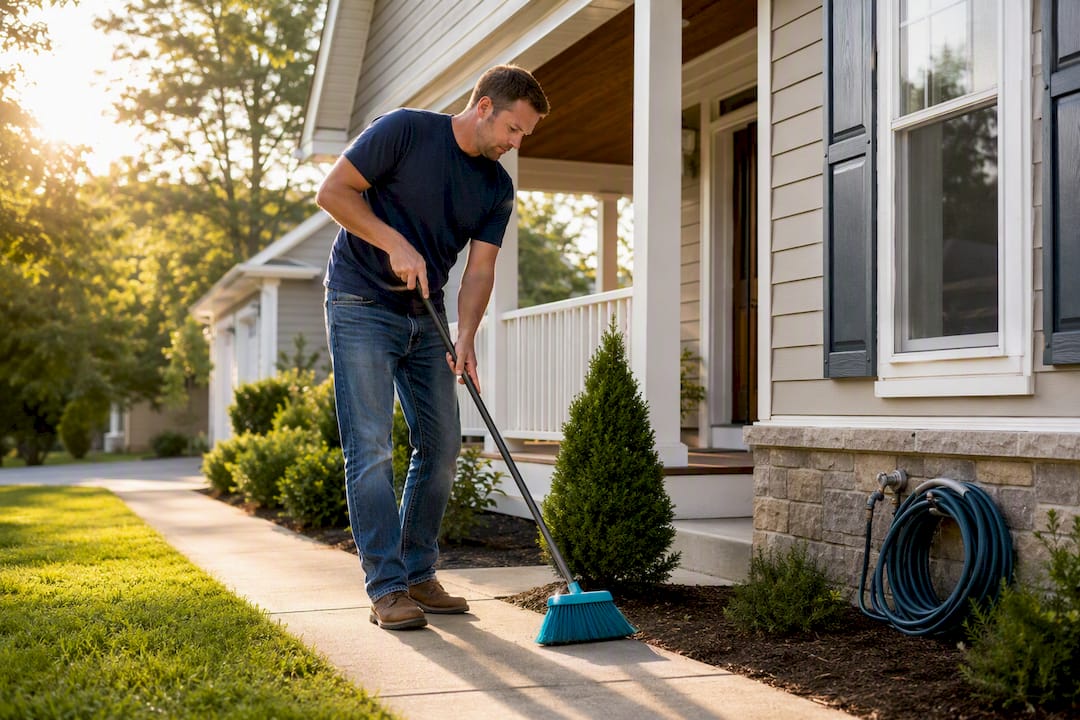
Day of, walk the exterior first. Mow the lawn, sweep the walkway, coil up hoses, and move cars out of the driveway and off the street in front of the house. A two-weekend curb appeal refresh done ahead of time means this step is just maintenance, not a scramble. For anything beyond raking and sweeping, professional debris removal before a listing shoot clears out old furniture, yard waste, or construction leftovers that otherwise creep into the edges of exterior frames.
Then hit every bulb in the house. Replace anything burned out, and match color temperature across fixtures so one room doesn't glow orange next to a room lit cold blue. Open every blind and curtain. The National Association of Realtors recommends maximizing natural light as one of the highest-impact, lowest-cost things a seller can do before a shoot, and it shows up in nearly every professional checklist for a reason: it's free, and it works.
Pro Tip: Buy a few warm-white LED bulbs (2700K to 3000K) specifically for the shoot, even if your everyday bulbs are cooler. Warm light photographs as "cozy," not "office building."
Timing the Light: Golden Hour, Twilight, and When to Shoot Each Room
Light quality matters more than almost any other single factor in how a listing photo performs. Midday sun creates harsh shadows and blown-out highlights near windows. Photographers generally avoid the two or three hours around noon entirely for exterior work, favoring the soft, angled light of morning or late afternoon instead.
Interiors are more flexible since you control the light source, but the exterior schedule should build around the sun's position relative to the house. A home facing east photographs best in morning light; a west-facing facade wants late afternoon.
- Shoot exteriors in the golden hour, roughly the first or last hour of usable daylight, for warm tones and long, flattering shadows.
- Turn on every interior light before shooting, even during the day, since layered light (natural plus artificial) reads richer than either alone.
- Avoid on-camera flash for interiors. It flattens depth and creates harsh reflections on windows and mirrors.
- On overcast days, treat the cloud cover as a giant softbox. Flat gray skies are the easiest lighting condition for interior shots, even if they're not ideal for exteriors.
- Save one exterior shot for twilight, the 20 to 30 minutes after sunset when the sky turns deep blue and interior lights glow through the windows.
Twilight or "day-to-dusk" images consistently pull more attention than a standard daytime facade shot, largely because they break the visual pattern of a typical photo scroll. Whether you shoot it live at dusk or convert a daytime shot with editing software, the same rules for realism apply: window glow should look warm and even, not blown out, and shadows should match where the actual light source would be.
Pro Tip: If you can't coordinate a live twilight shoot around a photographer's schedule, shoot the exterior slightly underexposed during the day with every interior light on. That file gives an editor everything needed for a convincing day-to-dusk conversion later.
Camera Gear and Settings That Make Listing Photos Look Professional
You don't need a full studio kit to get clean, sellable images, but a few pieces of equipment separate amateur snapshots from listing photos that make buyers stop scrolling.
A tripod is the single highest-value purchase for anyone shooting their own listing photos. It eliminates camera shake, which matters enormously at the slower shutter speeds interior shots often require. A wide-angle lens (roughly 16mm to 24mm on a full-frame camera) captures more of a room without the fisheye distortion that cheaper ultra-wide lenses introduce. Professional real estate photographers also shoot in RAW format rather than JPEG, since RAW files hold far more recoverable detail in shadows and highlights during editing, and they typically bracket exposures, taking three or more shots at different brightness levels to blend later for balanced dynamic range, a technique outlined in professional photography guidance as standard practice for interior work.
For camera settings, here's a workable starting point:
- Aperture: f/8 to f/11 keeps the whole room in sharp focus, front to back.
- ISO: 100 to 400 to minimize digital noise, since you're not chasing a fast shutter speed on a tripod.
- Shutter speed: Adjust freely since the tripod holds the camera steady, even at a half-second or longer.
- White balance: Set manually to match your bulbs (usually around 2700K to 3000K for warm interior light) rather than trusting auto white balance, which can shift color between shots.
If you're shooting on a phone, skip the ultra-wide lens setting; it distorts straight lines badly in tight rooms. Turn on the gridlines, lock exposure by tapping and holding on the brightest part of the frame, and always shoot horizontal, never vertical, since listing platforms and MLS systems display horizontal images far better.
Whether a dedicated camera is worth the investment comes down to budget and how many listings you're shooting. A single homeowner selling one property is usually better off hiring a professional or using a well-lit phone setup. An agent shooting several listings a month will see the tripod-and-camera investment pay for itself quickly in time saved and image quality.
Room-by-Room Shot List: Framing Rules Buyers Respond To
Every room has a "money angle," the position that shows scale, flow, and light in one frame. Finding it consistently comes down to a few repeatable rules rather than guesswork.
Shoot from chest height, roughly five feet off the ground, for most interior rooms. This mimics natural standing perspective and avoids the distorted look of shooting too low or too high. Keep vertical lines actually vertical; nothing signals an amateur shot faster than door frames or walls that lean. Most camera and phone grid overlays include a level tool specifically for this.
- Living rooms and family rooms: Shoot from a corner to capture the most depth and show how furniture relates to windows and doorways. Include enough of the ceiling and floor to convey scale.
- Kitchens: Center the composition on the island or the primary work triangle. If the kitchen opens to a dining or living area, get one shot that shows that flow, since "open concept" is far more convincing in a photo than in a listing description.
- Primary bedroom: Style the bed first (crisp linens, symmetrical pillows), then shoot from the doorway or a corner to show the full footprint of the room.
- Bathrooms: Close-up shots of clean fixtures, folded towels, and a clear vanity work better than a wide shot of a small room, which tends to look cramped no matter how you frame it.
- Hallways and entryways: Center the frame straight down the hall. Symmetry reads as intentional here in a way it doesn't in living spaces.
- Exteriors: Sequence a wide shot of the full facade, then an angled three-quarter view, then the backyard, then the driveway or garage. Include sky and surrounding landscape context in at least one shot to set the scene.
For unique selling points, a fireplace, a custom built-in, or a view, dedicate a specific shot rather than hoping it shows up in a wider frame. Buyers scan photos fast, and a feature that made you fall in love with the house needs its own moment to register.
Pro Tip: Use the rule of thirds for living spaces and bedrooms, placing key elements along imaginary gridlines rather than dead center, but switch to centered symmetry for hallways, staircases, and straight-on exterior shots. Mixing the two rules by room type reads more professional than applying either one universally.
Running an Efficient Shoot Day: Order, Counts, and Quick Checks
A shoot without a plan wastes time and produces a messy, out-of-order set of files that someone has to sort through later. Agent workflows that treat the session as a structured three-phase process, pre-shoot, during-shoot, and post-shoot, consistently produce cleaner results than ad hoc shooting.
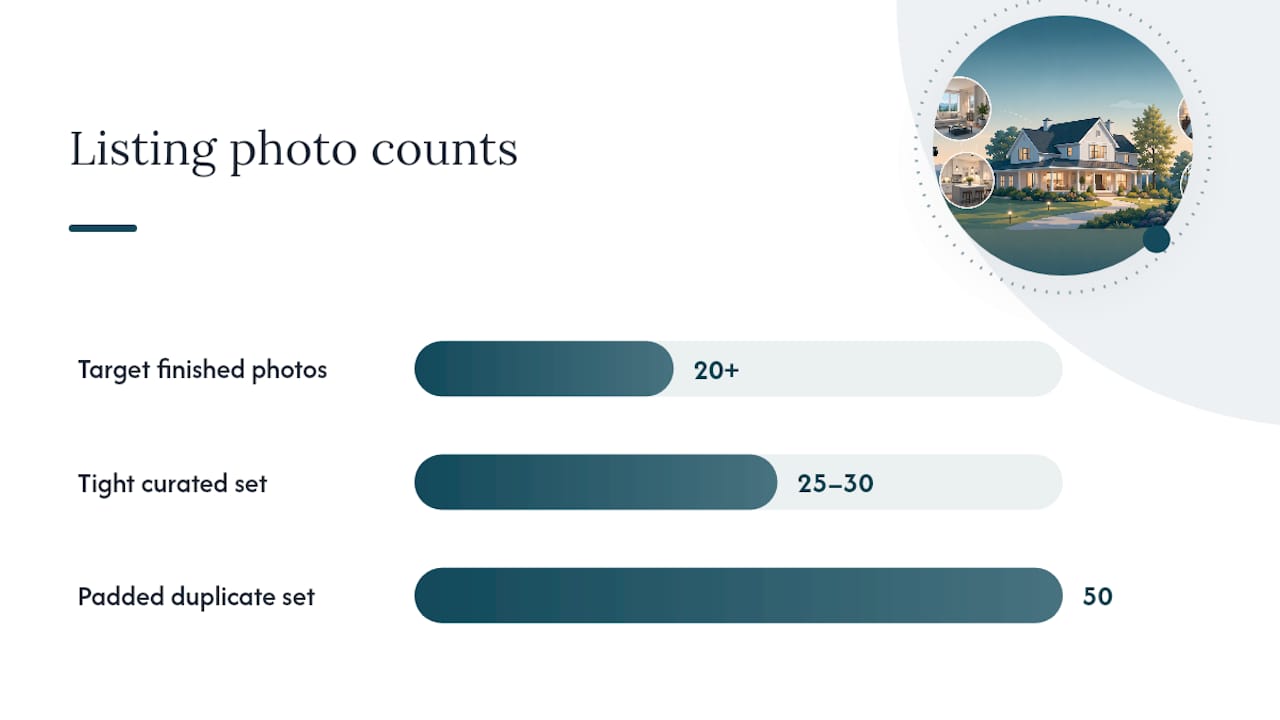
Aim for twenty or more finished photos per listing, with multiple angles on the rooms that matter most: the kitchen, the primary bedroom, and the main living area. A detailed 2026 listing photo checklist used by top-producing agents recommends exactly this range, noting that listings with a fuller, well-ordered photo set consistently perform better than ones with a sparse handful of images.
Shoot in the order buyers will actually scroll through the listing:
- Hero exterior shot first (this becomes the cover photo).
- Main living area and any open-concept flow shots.
- Kitchen.
- Primary bedroom and bath.
- Standout amenities or unique features.
- Secondary bedrooms and bathrooms.
- Additional exterior shots: backyard, garage, outbuildings.
On site, do a quick quality check on the camera's screen or phone display after each room rather than waiting until you're home. Look specifically for blown-out highlights near windows, unwanted reflections in mirrors or glass, and any clutter that crept back into frame between shots. Catching these on location saves an entire second visit.
When you're back at your desk, trim aggressively. Two or three near-identical angles of the same corner don't add value; they just make buyers scroll past faster looking for the next real piece of information. A tight set of 25 to 30 distinct, well-chosen images beats 50 photos padded with duplicates every time.
Editing Your Listing Photos Without Misleading Buyers
Post-processing is where good photos become great ones, but it's also where sellers occasionally cross a line into misrepresentation. The goal is enhancement, not fiction.
Start with the basics: exposure correction, white balance adjustment, lens distortion correction, and straightening any crooked verticals that slipped through on shoot day. If you bracketed exposures, this is where you blend them into a single HDR image with balanced shadows and highlights, keeping the result natural rather than the overcooked, halo-edged look that gives HDR a bad reputation. Keep your high-resolution master files archived, then export working copies at 1200 by 800 pixels or larger for MLS and listing portal uploads.
- Correct exposure and white balance before anything else; every other edit builds on this foundation.
- Blend bracketed exposures carefully, checking that shadows still look like shadows, not gray mush.
- Straighten verticals and crop for clean composition, removing stray cords or reflections you missed on site.
- Limit twilight conversions to one or two hero images. Overusing the effect across every exterior shot creates a repetitive, obviously edited feel that undercuts realism.
- If you use virtual staging, keep an unedited version of the same room available and disclose that the furniture is digitally added.
For twilight edits specifically, shoot the source image slightly underexposed with the windows lit from inside; this gives an editor clean data to work with for a convincing day-to-dusk conversion rather than a flat, obviously fake sky replacement. Many agent workflows now treat this kind of AI-assisted enhancement pass, HDR blending, virtual staging, twilight conversion, as a routine final step rather than an optional extra.
Disclosure matters legally as well as ethically. Most MLS systems and state real estate boards require that virtually staged photos be labeled as such, and altering a photo to hide a real defect, like cloning out a crack or water stain, can expose a seller or agent to a misrepresentation claim. Enhance the light and the composition. Don't erase the truth about the property.
Pro Tip: Keep a folder of "before" shots for every virtually staged room. If a buyer or their agent ever asks what's original versus digital, you'll have the answer in seconds instead of scrambling.
A Practical Pre-Listing Checklist From Beams Realty Group
Sellers who follow a structured timeline consistently walk into their photo shoot with less stress and a better-looking house. Here's the version we walk clients through at Beams Realty Group, built around the same three windows that matter most: two weeks out, three days out, and shoot day itself.
- Day minus 14: Book any repairs identified during a walkthrough or pre-listing inspection. Schedule landscaping if the yard needs more than routine upkeep. Confirm your photographer or staging service, and lock in a shoot date with a weather backup in mind.
- Day minus 3: Finish decluttering every room. Pack away personal items, thin out closets, and do the deep clean of kitchens and bathrooms. Buy fresh linens and towels if yours are worn or mismatched.
- Day of: Replace any bulbs that burned out since your last check. Open every blind. Mow, sweep, and clear the driveway and street of vehicles. Stage the beds and kitchen island. Remove pet items entirely.
Not every seller needs a full staging service. A living room with good bones and a few smart, low-cost touches (fresh linens, a cleared mantel, one well-placed plant) often photographs just as well as a fully staged home. Where we tell clients to bring in outside help is with heavier lifting: whole-house exterior cleaning before a shoot, since a pressure-washed exterior clean before selling often does more for curb-appeal photos than any amount of interior staging, or a specialized photographer for higher-end listings where twilight and drone shots are part of the marketing plan.
Where Your Photo Budget Actually Pays Off
The biggest mistake sellers make with listing photos is treating every image as equally important. It's not true, and pretending otherwise wastes money. The hero exterior shot and the kitchen photo carry disproportionate weight in whether a buyer clicks into a listing at all, so that's where the strongest lighting, the most careful staging, and, if budget allows, a professional photographer belong.
Virtual tours are the next tier up, and they're not for every listing. For move-in-ready homes in a competitive price range or markets with a lot of out-of-town or relocating buyers, a 3D walkthrough can shorten time on market and bring in more qualified leads, since buyers can rule a house in or out remotely before ever scheduling a showing. For a starter home in a hot local market where buyers are already touring in person within days, the return is less clear.
My honest read: spend where it changes a buyer's decision to click, and don't over-invest in polish nobody notices. Speed to market matters, but a rushed, poorly lit listing set costs more in slow showings than a two-day delay for good photos ever will.
— Myra
Get Your Listing Camera-Ready With Beams Realty Group
Getting all of this right on your own, timing repairs, coordinating a photographer, deciding whether a twilight shot or virtual tour is worth the spend, is a lot to manage on top of everything else involved in selling a home. Successful selling processes often include coordinated staging support, guidance on hero-image and twilight strategy for listings, and timing photo shoots to coincide with peak buyer activity.

If you're weighing whether your home is ready for its close-up, start with a home valuation to see where your property stands today. From there, our Sell My Home team walks through a full marketing consultation, covering photo strategy, staging priorities, and timeline, tailored to your specific property and neighborhood in Virginia. Request your valuation or book a seller consultation to get a clear plan before your camera crew ever shows up.
Sources
- 8 Tips To Make Your Listing Picture Perfect
- 20-Step Checklist to Prepare Your Home for Real Estate Listing Photos
- The 2026 Listing Photo Checklist: What Top Agents Do Differently | RePhoto
- The Ultimate Guide to Twilight Editing: How Day-to-Dusk Conversion Turns Listings Into Luxury | evere
- Real Estate Photography Tips for Better Listings | vProp Blog
FAQ
What is the 3-3-3 rule in real estate?
It's a scheduling guideline suggesting sellers get the home photo-ready within three days, list it for buyers to view within three days of going live, and expect an offer within three weeks in a healthy market. Treat it as a rough benchmark, not a guarantee, since local market speed varies.
What is the rule of thirds in listing photography?
It's a composition technique that places key elements, like a window, a piece of furniture, or a focal wall, along imaginary lines dividing the frame into thirds rather than dead center. It works well for living rooms and bedrooms, though straight-on shots of hallways and exteriors often look better centered instead.
What kind of photos sell homes fastest?
A strong, well-lit hero exterior shot (ideally at golden hour or twilight) combined with a bright, uncluttered kitchen photo tends to drive the most clicks into a listing. Listings with 25 or more well-ordered photos covering every major room and feature generally outperform sparse photo sets.
How many photos should a listing have?
Most top-performing listings include 25 to 30 photos, with two to four angles on the kitchen, primary bedroom, and main living area, plus full exterior coverage. Fewer than that risks leaving buyers with unanswered questions about the property.
Should I hire a professional photographer or shoot listing photos myself?
A professional is worth it for higher-value listings or any home where twilight and virtual tour marketing make sense, since the lighting and equipment expertise shows in the final images. For a single home sale on a tight budget, a well-lit phone shoot following the same composition and timing rules can still produce solid, usable photos.